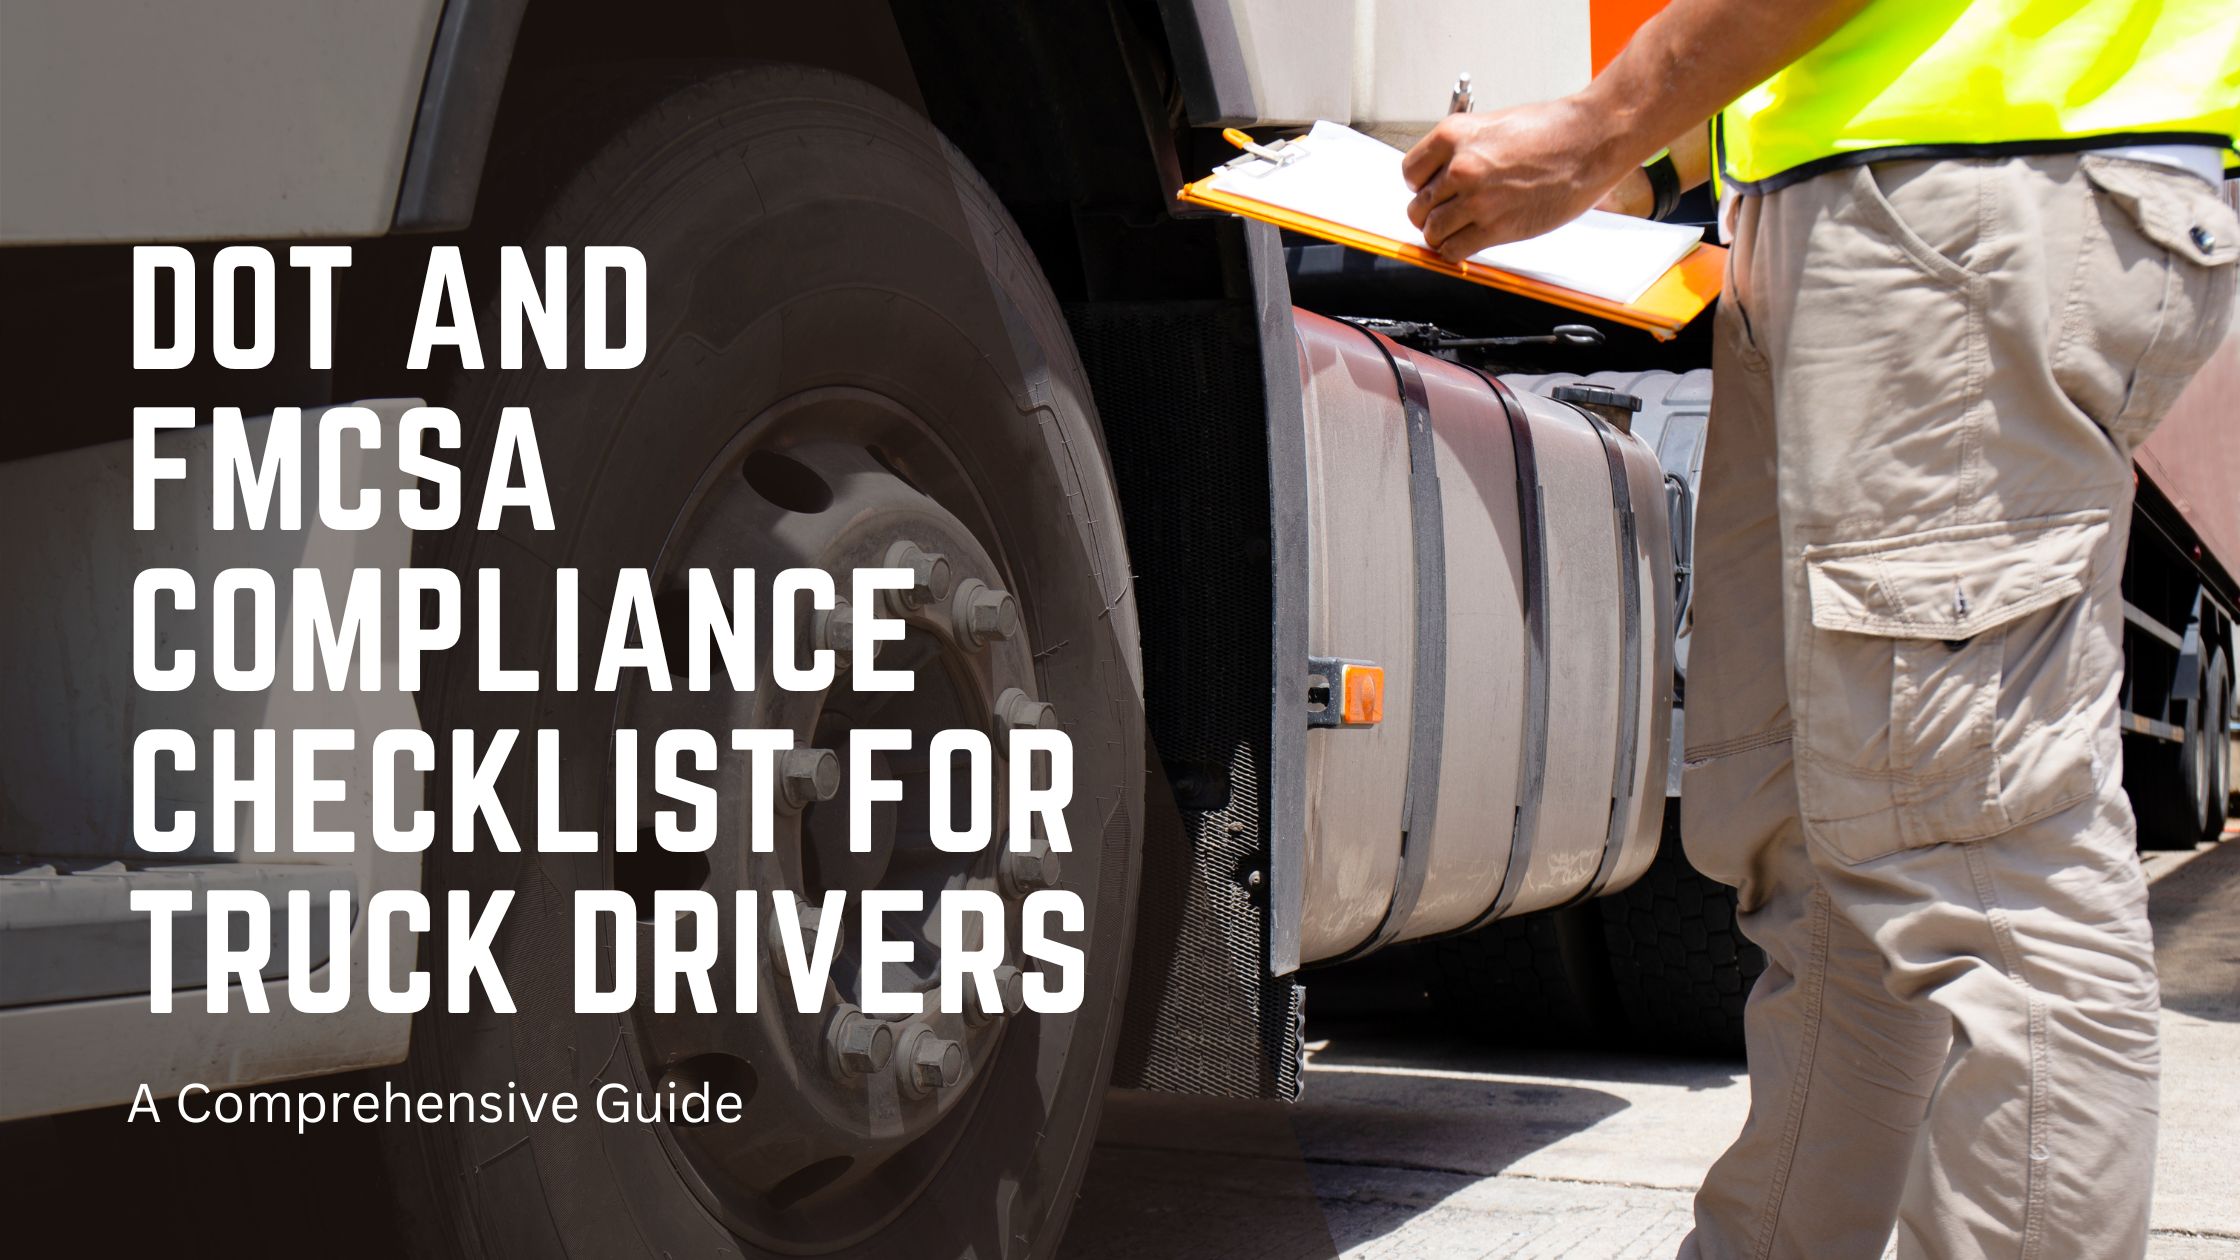
Why Your Pre-Trip Inspection Matters
You do not complete a pre trip inspection just to fill a line in your log. You do it because it is the first safety tool you use on every run. It gives you a chance to catch a problem in the yard instead of discovering it in traffic. Federal crash reviews show that mechanical issues play a major role in serious truck crashes, year after year. A large share of those problems comes from the same areas you should check every morning: brakes, tires, and lights. When you give your inspection real attention, you lower that risk for yourself and for everyone who shares the road with you. You also protect your professional record. During roadside inspections, officers can place a vehicle out of service when they see serious defects. That can mean waiting on repairs, changing plans, and extra costs for your company. It can also affect your CSA (Compliance, Safety, Accountability) score and the way future inspections go. A solid, repeatable pre-trip routine helps keep those numbers moving in the right direction and keeps your day on schedule.DOT and FMCSA Requirements in Simple Terms
DOT and FMCSA expect you to check your vehicle at least once per day, usually before you start driving. You do this at the beginning of your duty period, after a 10‑hour break, or when you pick up a new trailer. You must:- Inspect key safety parts of your vehicle.
- Record your inspection as on-duty, not driving.
- Report any defects that affect safety or could cause a breakdown.
Your Complete Pre Trip Inspection Checklist
Follow this systematic approach to inspect your vehicle efficiently. Start from one side and work your way around to avoid missing any components.1. Engine Compartment: Start Under the Hood
You begin with the hood open. This sets up everything else. Check these items:- Engine oil level
- Coolant level and radiator condition
- Power steering fluid
- Belts and hoses
- Visible leaks
2. Brake System: Protect Stopping Power
Brakes are one of the most inspected systems on commercial vehicles. They also show up often in roadside violations. You check:- Brake drums and rotors
- Brake linings and pads
- Hoses and lines
- Chambers and slack adjusters
- Parking brake operation
3. Tires, Wheels, and Rims: Contact with the Road
Your tires carry the entire load. You give them time and attention. Look for:- Correct tread depth on steer and drive tires
- Proper inflation
- Cuts, bulges, or exposed cords
- Secure valve stems and caps
- Tight, present lug nuts
- Rims without cracks or damage
A simple rule helps: if something about the tire or wheel looks odd, you pause and check further before driving.
4. Lights and Reflectors: Be Seen, Stay Seen
Lighting issues are frequent during roadside inspections. Pre trip checks help you get ahead of them. Turn on your lights and walk around the truck. Confirm that:- Headlights work on low and high beam
- Turn signals and four‑way flashers operate
- Brake lights illuminate
- Marker and clearance lights are on
- Reflectors are present and visible
5. Steering and Suspension: Control and Stability
You want smooth steering and a stable ride, even with a heavy load. Check your steering system:- Steering wheel has normal free play
- Columns and shafts are secure
- Gearbox mounts show no damage or leaks
- Linkages are tight and pinned
- Springs or airbags are intact
- U‑bolts and hangers are secure
- Shock absorbers do not leak
- No shifted or broken components
6. Fifth Wheel and Coupling: Secure Connection
A strong connection between the tractor and trailer is essential. You want no doubt here. Confirm that:- Fifth wheel is properly greased and mounted
- Locking mechanism is engaged
- Kingpin is secure and not damaged
- Release handle is in the locked position
- Air and electrical lines are connected and not dragging
7. Trailer Body and Landing Gear
Now you shift focus to the trailer itself. You check both structure and function. Look for:- No major body damage or holes
- Doors that open, close, and latch correctly
- Landing gear that raises and lowers smoothly
- Crossmembers and frame that appear straight and intact
8. Cab Interior and Safety Equipment
You spend many hours in the cab. A quick interior check supports safety and comfort. Check:- Seat belts for proper condition and latch
- Gauges, warning lights, and indicator lamps
- Horn, wipers, and washer
- Mirrors adjusted for your seating position
- Heater and defroster
- Fire extinguisher charged and secured
- Reflective triangles in place
- Spare fuses if required
9. Undercarriage and Frame
Finally, you take a look underneath where possible. This area often reveals issues not visible from the side. Look for:- Leaks from fuel tanks, engine, transmission, or differentials
- Loose or hanging parts
- Damaged airlines or electrical cables
- Frame cracks or non‑standard welds
Sample Pre-Trip Inspection Table
You can use a simple table like this as a quick reference or training aid:| Area | What You Check | Goal |
| Engine compartment | Fluids, belts, hoses, leaks | No leaks, proper levels |
| Brakes | Drums, linings, hoses, chambers | Safe stopping power |
| Tires and wheels | Tread, pressure, damage, lug nuts | Safe contact with road |
| Lights and reflectors | All exterior lights and reflectors | Visibility and compliance |
| Coupling system | Fifth wheel, kingpin, lines | Secure tractor‑trailer link |
| Suspension and steering | Springs, airbags, linkages, shocks | Stable and controlled driving |
| Cab and equipment | Gauges, seat belt, horn, emergency gear | Comfort and readiness |
You can adapt this table to match your company forms or digital inspection app.
Time-Saving Tips for a Consistent Routine
A good pre trip process does not need to feel long or complex. You gain speed through consistency, not shortcuts. Here are some helpful habits:- Walk your truck in the same pattern every time.
- Keep a small light, gauge, and gloves stored in one spot.
- Use a printed or digital checklist at first, then rely on memory once it feels natural.
- Note repeat issues and share them with maintenance early.
Building Long-Term Inspection Skills
You build inspection skills the same way you build driving skills: repetition, feedback, and occasional refreshers. You can:- Practice your checklist out loud during training or mentoring.
- Compare your routine with your company’s official forms.
- Ask maintenance teams what they see most often during repairs.
- Take structured online courses on DOT and FMCSA compliance.
FAQs
How long should a pre trip inspection take?You usually need 15–30 minutes for a complete pre trip inspection. The exact time depends on your vehicle type, your experience, and any issues you find.
Do you need paperwork for every inspection? You log that you completed an inspection, and you record defects that affect safety or operation. Your carrier may ask for written or digital reports whenever you find a problem.
How often should you inspect your truck?
You perform a pre trip inspection at least once per day, usually before you start driving. You also inspect again after a 10‑hour break or when you switch trailers.